 This post will teach you about the fundamentals steps on how to draw human anatomy. The steps that will be post here are based on what i've learn in some articles. So let me share some basics so that you can gain some knowledge and improve your skills also.
 This is one of the best tutorial of algaegoblin :)
STEP 1
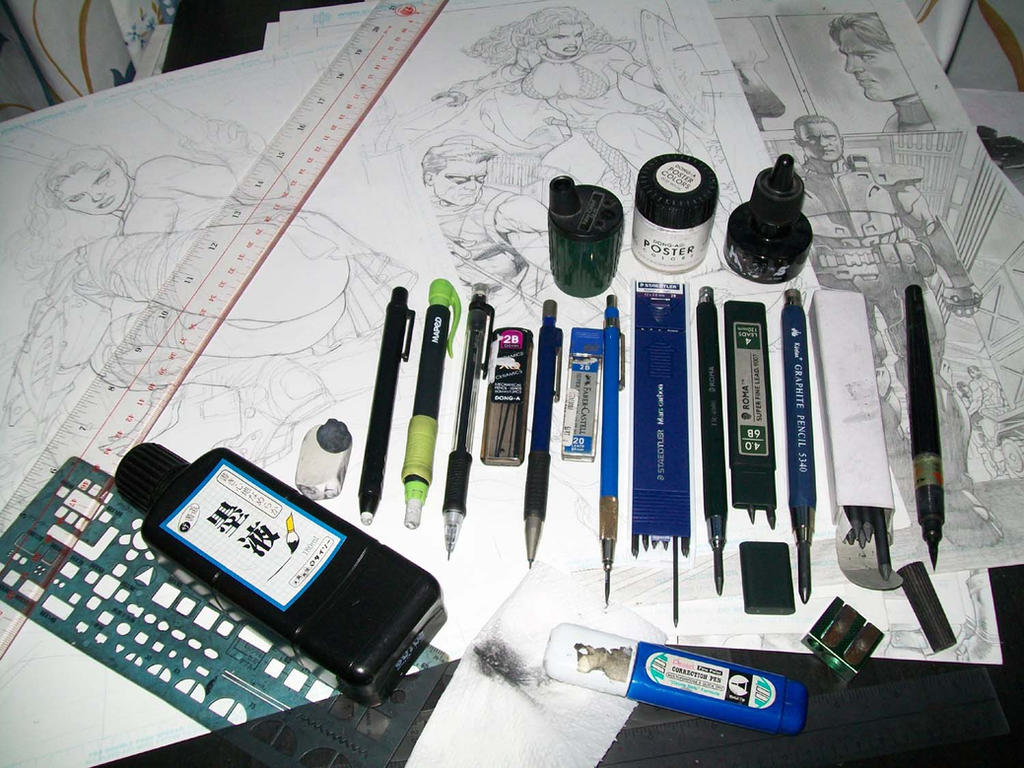
First of all, if you want to learn faster you should draw using traditional tools. It may seem a stupid or banal rule but it is not.
You will need a piece of paper and a pencil, preferably a medium-hard pencil or HB ("H" stands for "hardness," while "B" stands for "blackness"). If you have already familiarity with this hard drawing medium you could obtain different soft pencils instead: B, 2B and 4B will be fine. A putty rubber and a white rubber from a good brand will work fine.
However, I'm not here to describe which tools are better for drawing traditionally, and for me a hoe would work fine as well: it's the passion that counts!
Now that you have a pencil and F4 paper (F2 is less thick and if you erase often you could ruin it, that's why F4 is ideal) you can start your work. You can also make out with A4 paper which is thicker than normal, otherwise you will pass the sheet if you use a hard mine (or if your hand is too heavy, if you know what I mean...).
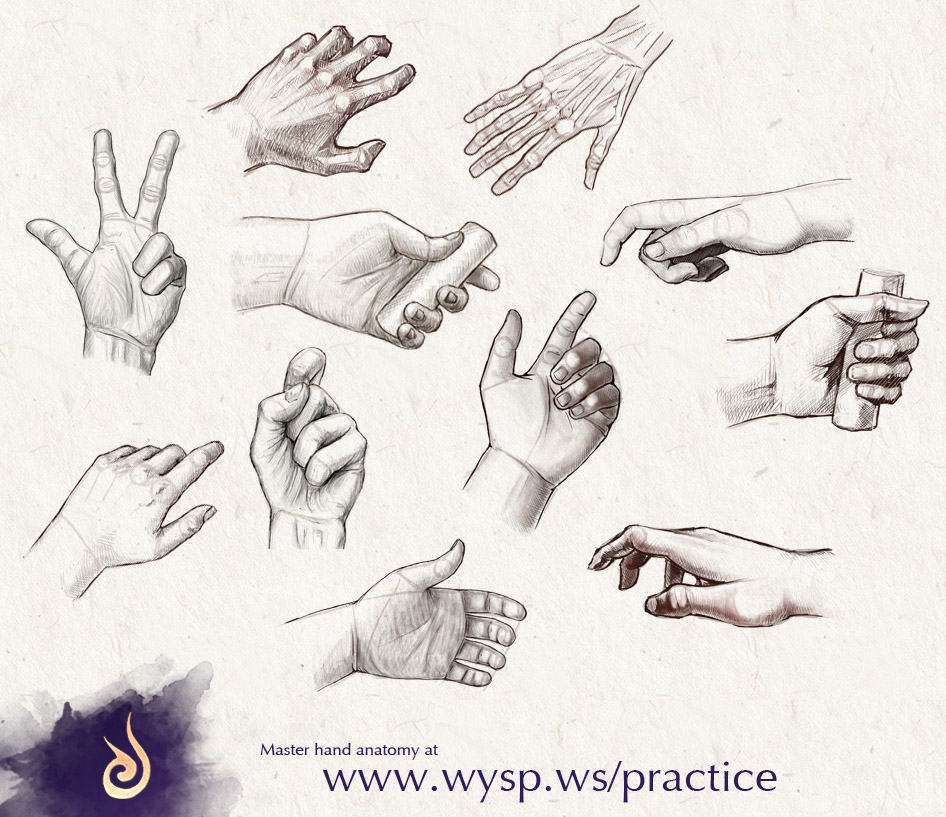
Well, now that you have the tools, sharpener included, get in a bright spot of your house, preferably on an inclined surface (otherwise your future drawing will look in perspective, and you may not be happy with the result!) and copy the hand your not using for drawing. Try not to erase too much. Try to grasp the structure of your hand through many sketches in which you should only draw the outlines of your hand and fingers, you should forget about the shading for a moment.
Fill the paper with these sketches of your hand in different poses and please include your wrist if you can. Continue your workout every 2/3 days (preferably daily) for 2 weeks, what am I saying? Do it until you could see significant improvements!
Write the date on each work you have done and keep them carefully without rubbing them. The first step to be a good artist is to give value to your works. When the hand really looks like a hand and not a mass of sausages then you're ready for Step 2.
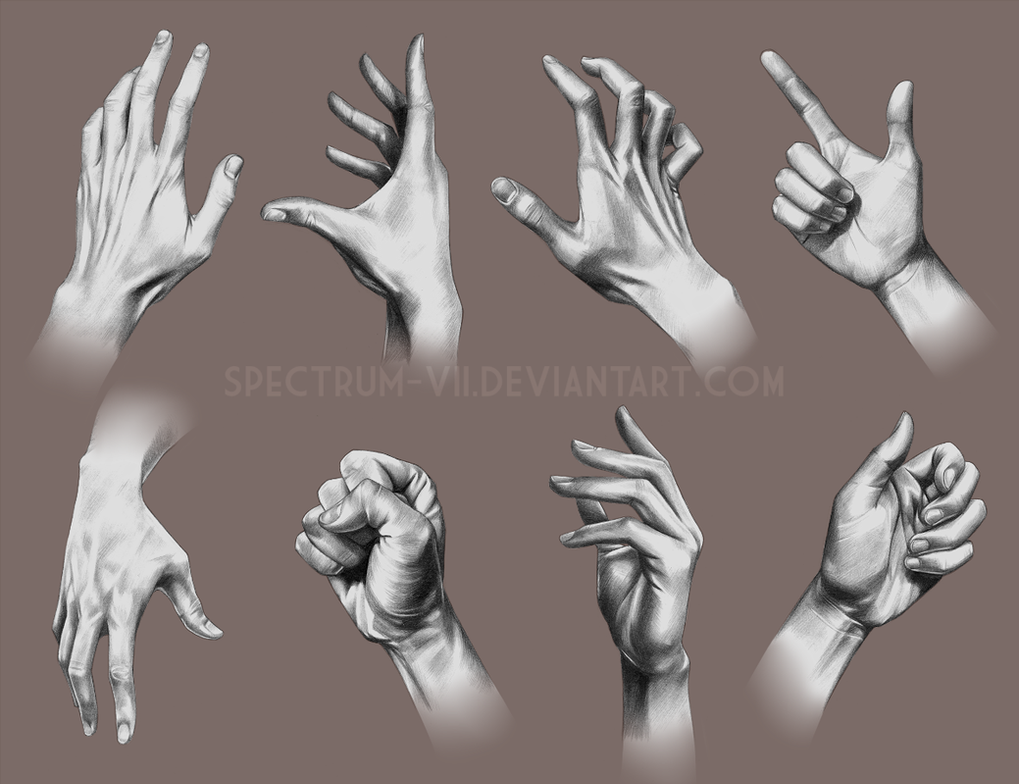
The result will be similar to this, only the folds of flesh and contours of the hands should be visible.
Hand proportions work this way...
STEP 2
So now we better move to the second point. Ok guys, do you remember your own hand? That hand you copied so many times, that fist, that cramp that came while you deformed it? Here you are, you should repeat the procedure but this time you will not have to copy only the outlines of your fingers. You must work hard and point on your hand the dramatic light of a lamp, because this time you should draw your hand and shade it.
If you are drawing using a HB pencil then shade using a B or 2B. You will realize soon that it is not so difficult to find the darkest points: the hard part is not to make the whole drawing uniformly black or uniformly gray and creating well balanced halftones.
You may find some difficulties, yeah right! all normal, because in fact you're seeing your hand in colors (as long as you're not color blind) and you're just simplifying your hand colors using the greyscale instead. So, don't give up! It was hard for everyone at the beginning.
Repeat this exercise every 2/3 days until you can see a clear difference between the first hand (remember to write the date on the drawings!) and the last hand you drew. Are you satisfied with your improvemente? Good, because you will have more fun following STEP 3.
These are practical examples of a good result.
STEP 3
Since you are already conversant with your left hand (or right that it is) and you say you know it by heart (if you say so...), now I'm asking you to take your colored pencils and do an experiment. This time I'm asking you NOT to do a preliminary sketch in pencil of your drawing: just draw one or both of your feet, using colored pencils only on semi rough paper F4 of different colors (I recommend a white, a grey, a blue and a black for a good start). Again, do not stop until the result satisfies you. Write the date on the work because now the interesting part begins.
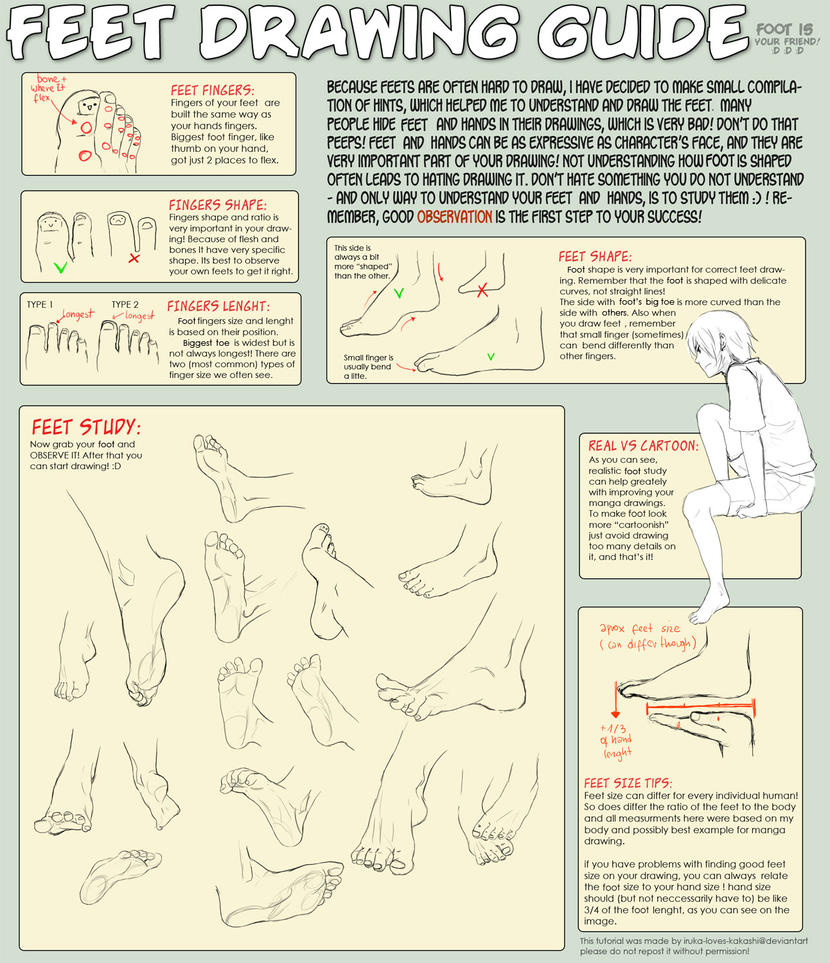
The result should be similar to these, of course in colors.
Feet proportions works this way...


:origin()/pre00/70cb/th/pre/f/2010/329/b/e/hand_tutorial__tips_reference__by_qinni-d33lcb1.jpg)
:origin()/pre00/00c1/th/pre/f/2012/118/4/4/hand_tutorial_2_by_qinni-d4xv0nj.jpg)


:origin()/pre00/6f4c/th/pre/f/2013/063/f/f/feet_study_2___steps_by_irysching-d5wkkjr.jpg)


No comments:
Post a Comment